Before you begin configuring Microsoft Entra hybrid join with PingOne as the federated IdP
Before you can set up PingOne as the federated identity provider (IdP) for Microsoft Entra ID and enable hybrid join, you must complete the prerequisites in this topic.
|
You must have the following:
-
A PingOne organization. Learn more in Starting a PingOne trial.
-
A pre-production PingOne environment, such as development or test, with the PingOne SSO service added.
-
An AD domain with the following:
-
Your user identities and device records stored in the domain.
-
The service account username and password.
-
-
An Entra account with:
-
A tenant with a verified custom domain configured as a federated domain, where Entra ID redirects users to a federated IdP for authentication.
Learn more about domains in Managing custom domain names in the Entra documentation.
-
Either the Entra Hybrid Identity Administrator or Global Administrator role assigned.
-
Entra Connect Sync installed on a domain-joined Windows Server 2016 or later following the steps in these sections:
You must use Entra Connect Sync in this configuration and can’t use Entra Connect Cloud Sync. Learn more in What is Microsoft Entra Connect? and Comparison between Microsoft Entra Connect Sync and Cloud Sync in the Entra documentation.
-
Downloading Entra Connect Sync
Download Entra Connect Sync to sync AD users and devices joined to the domain to a verified custom domain in Entra ID.
Steps
-
Review the Entra Connect prerequisites and hardware requirements in the Entra documentation.
-
On a Windows-based computer, download Entra Connect Sync:
-
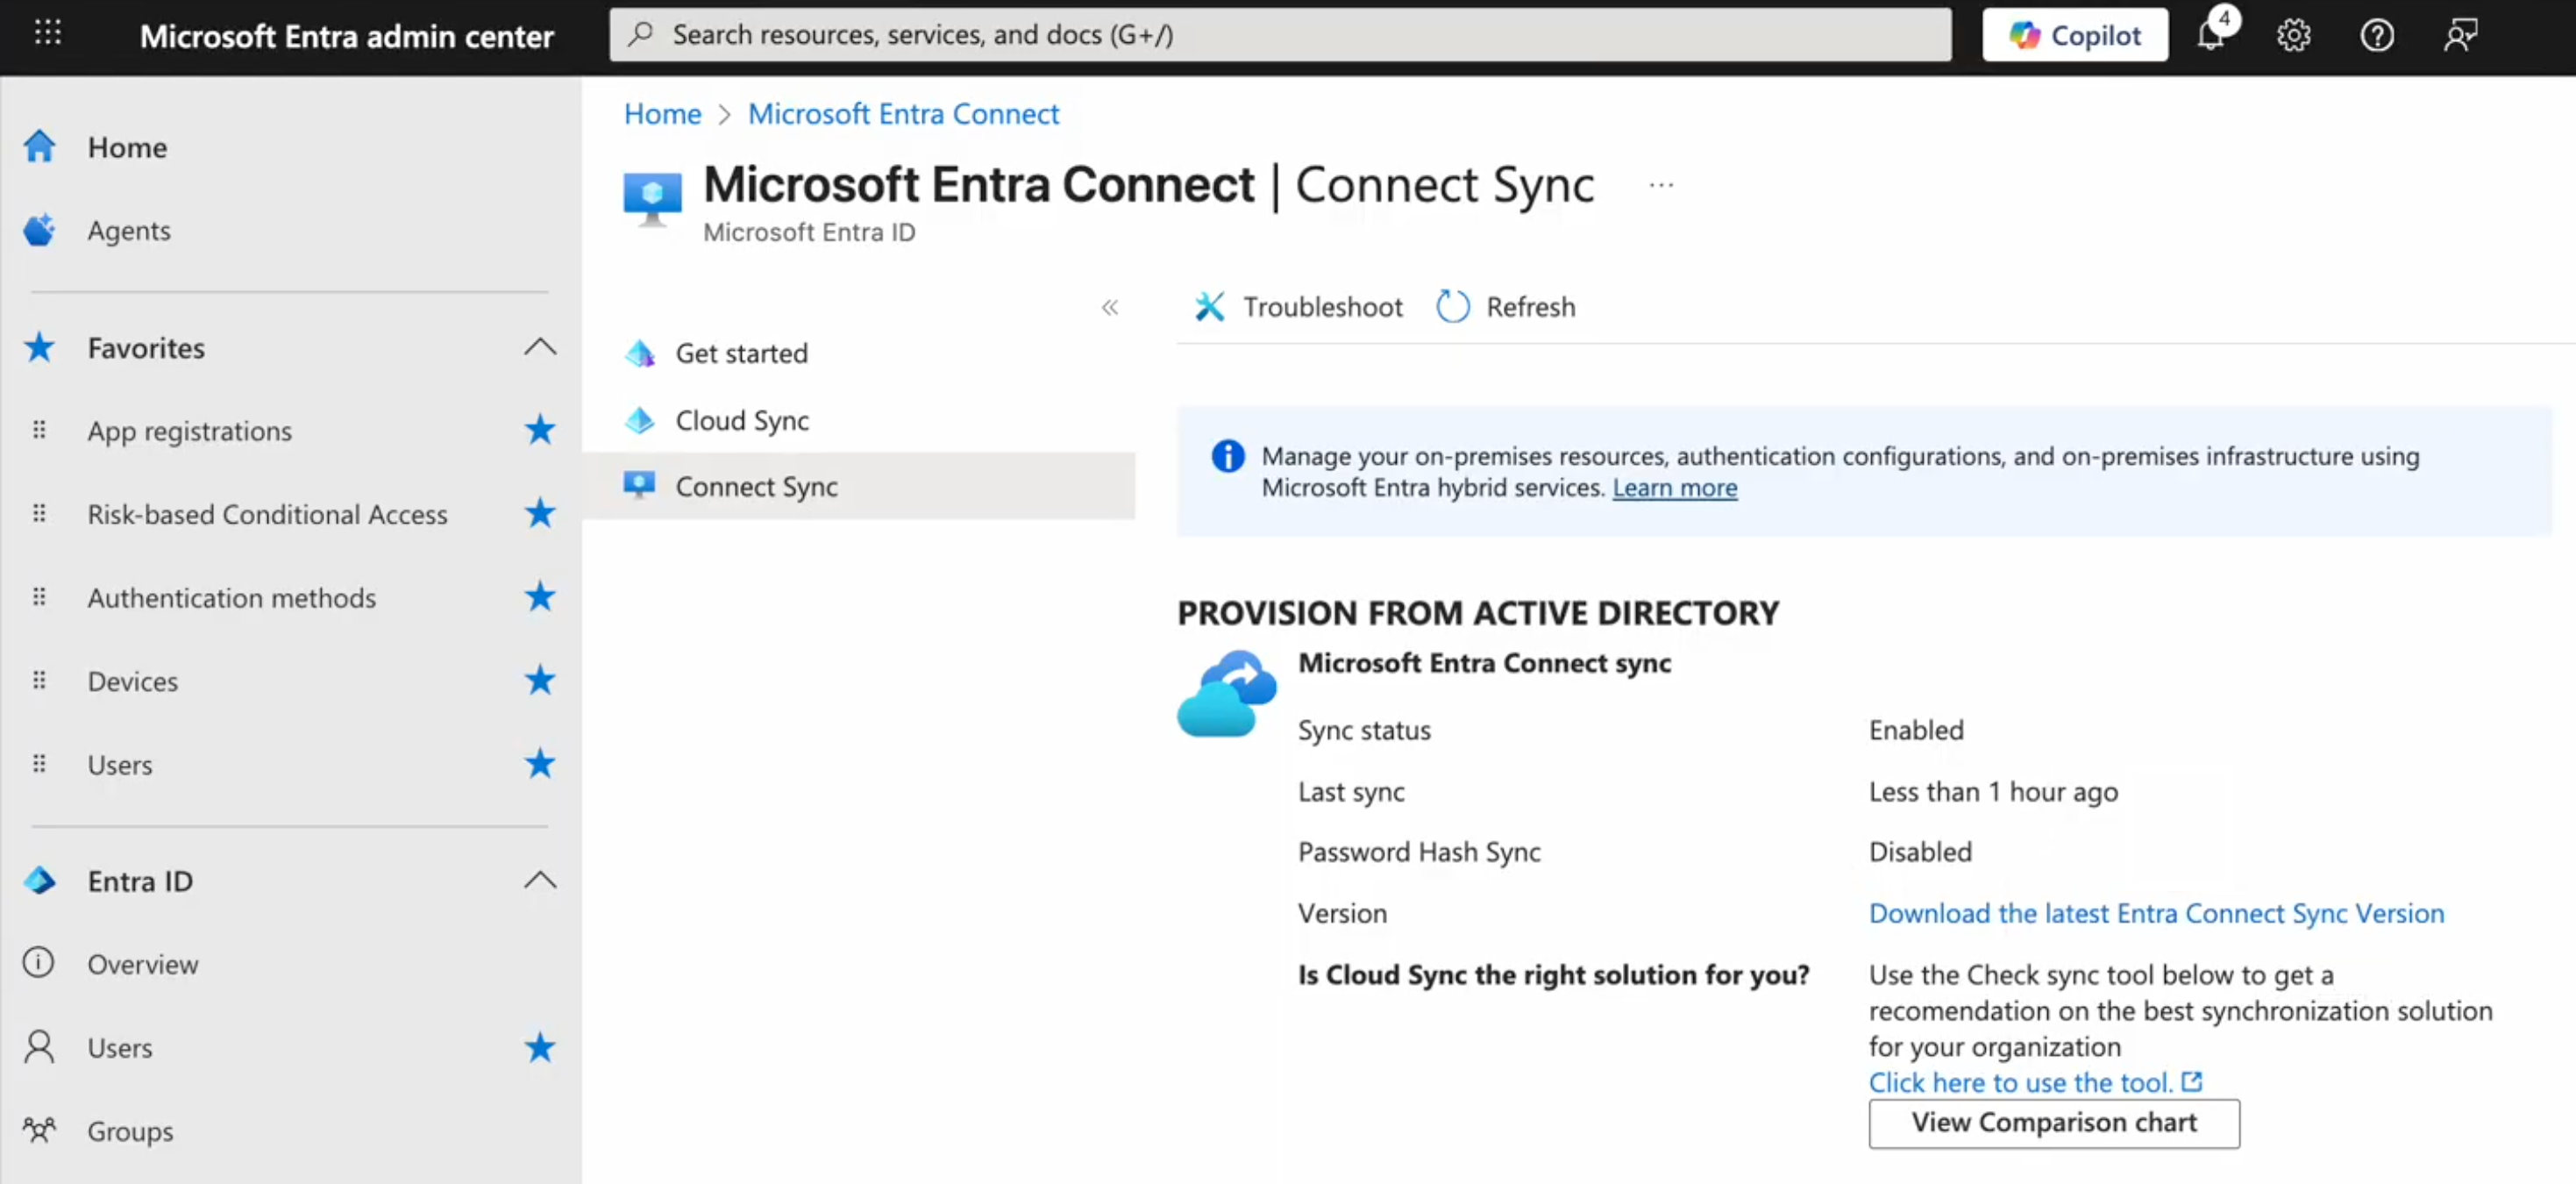
In the Entra admin center, enter
Entra Connectin the search bar. -
Go to Microsoft Entra Connect > Connect Sync.
-
Click Download the latest Entra Connect Sync Version.
-
Installing Entra Connect Sync
After downloading Entra Connect Sync, install it with the following configuration to ensure Entra hybrid join can sync successfully with AD.
Steps
-
On the Windows-based computer on which Entra Connect Sync is downloaded, run the installation program.
-
In the Microsoft Entra Connect Sync installation tool, select the checkbox to consent to the terms and click Continue.
-
In the Express Settings step, click Customize.
-
In the Required Components steps, leave all the checkboxes cleared and click Install.
-
In the User Sign-In step, select Do not configure for the sign-on method and click Next.

-
In the Connect to Microsoft Entra ID step, sign on to your Entra ID account.
-
In the Connect Directories step, ensure the AD domain displayed for Forest is the AD domain you want to use for hybrid join and click Add Directory.
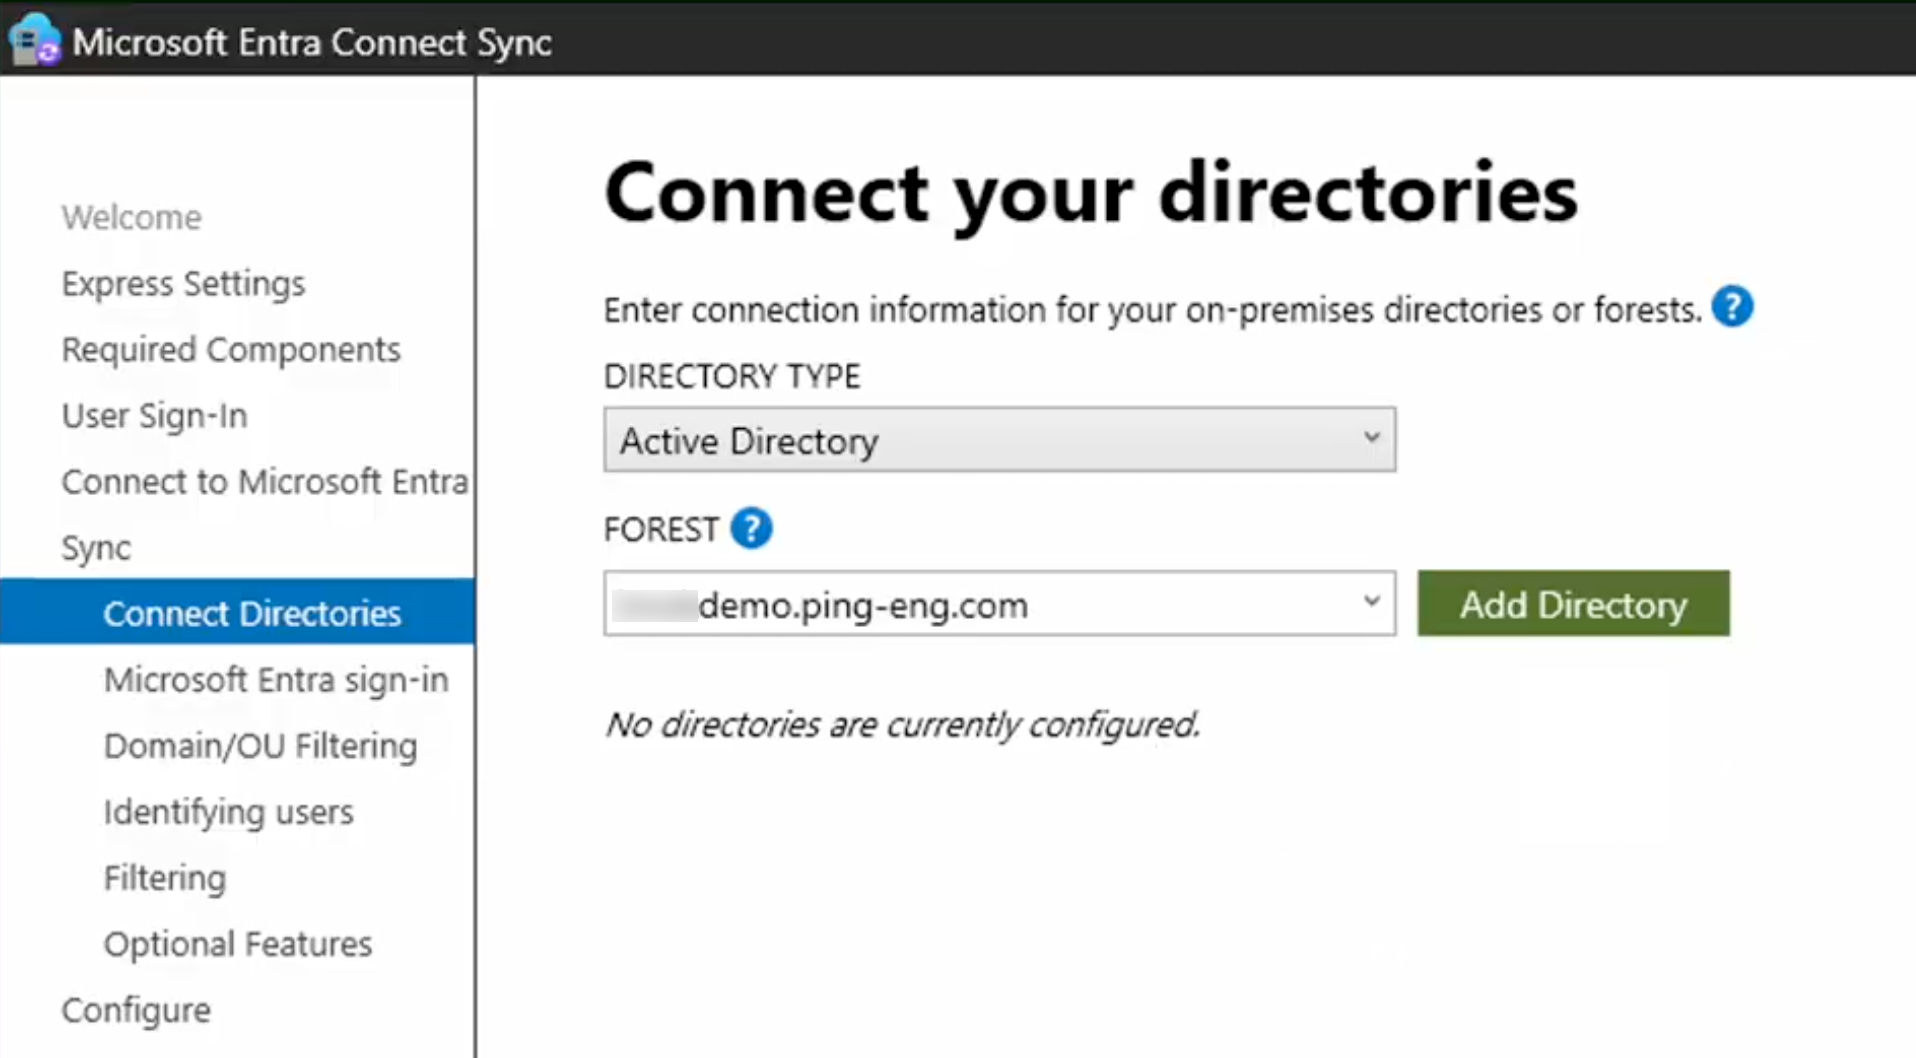
Result:
The AD forest account window opens.
-
Select Create new AD account.
-
Enter the applicable Enterprise admin AD account sign-on credentials.
-
Click OK.
-
In the Connect your directories step, click Next.
-
-
In the Microsoft Entra sign-in step, verify User Principal Name is set to
userPrincipalNameas the on-premise attribute to use as the Entra ID username and click Next.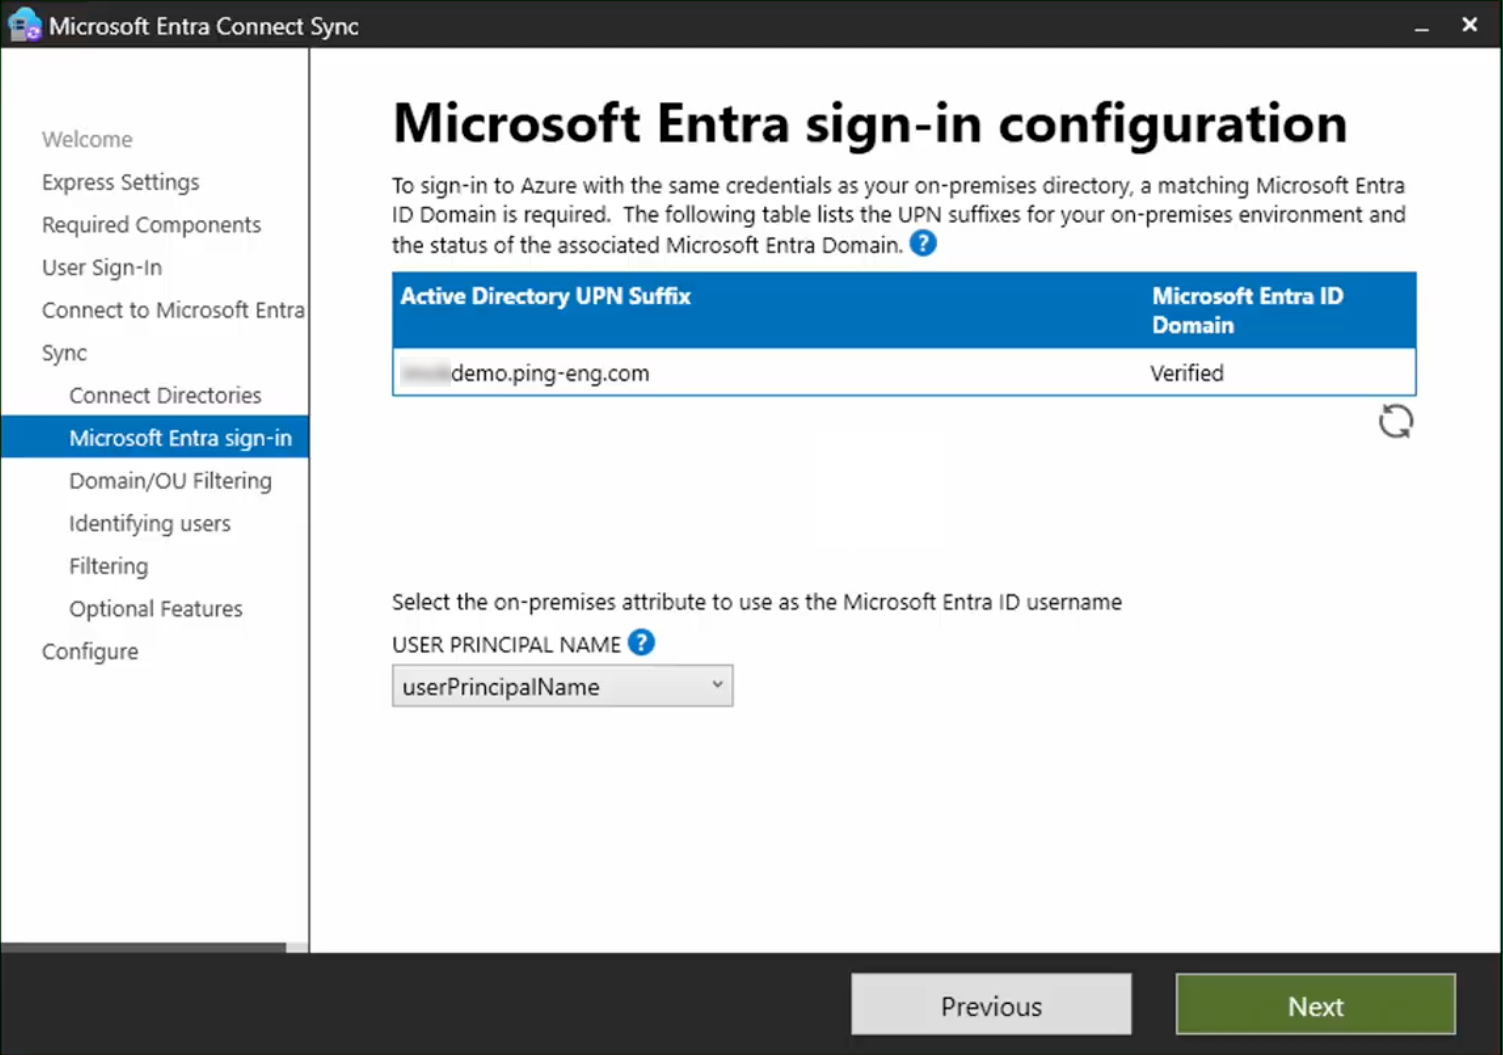
-
In the Domain/OU Filtering step:
-
Click Sync selected domains and OUs.
-
Select the checkboxes for any organizational units (OUs) where cloud users to be synced to Entra ID are located.
Although you can select multiple OUs in this step, we recommend only selecting the OU where your users are located. When users can successfully authenticate with PingOne, you can configure Entra Connect Sync to sync devices in Configuring Entra Connect Sync.

-
Click Next.
-
-
In the Identifying users step, leave the default settings and click Next.
The default Let Azure manage the source anchor setting means Entra ID will identify users with the
sourceAnchorattribute ofmS-DS-ConsistencyGuid.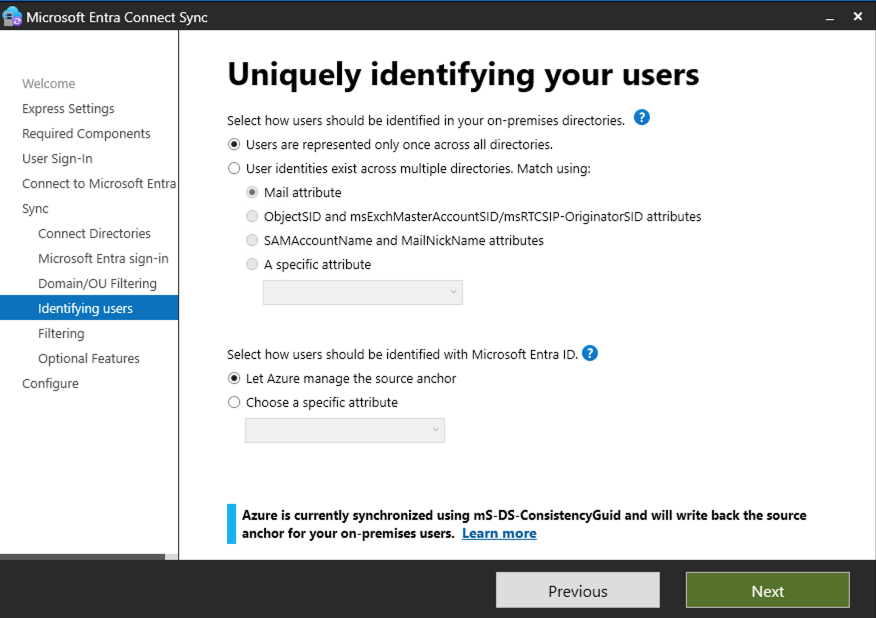
Learn more about
sourceAnchorin Entra Connect: Design concepts in the Entra documentation. -
In the Filtering step:
-
Choose either:
-
Synchronize all users and devices: Syncs all users and devices to Entra ID.
-
Synchronize selected: Allows you to enter a name or distinguished name (DN) of a group to sync to Entra ID.
-
-
Click Next.
-
-
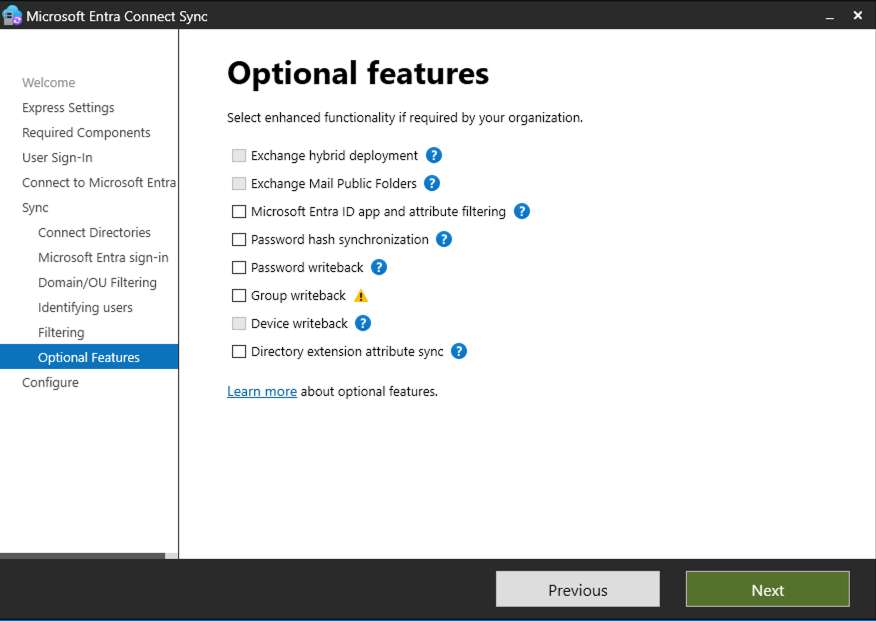
In the Optional Features step, leave all the checkboxes cleared and click Next.
-
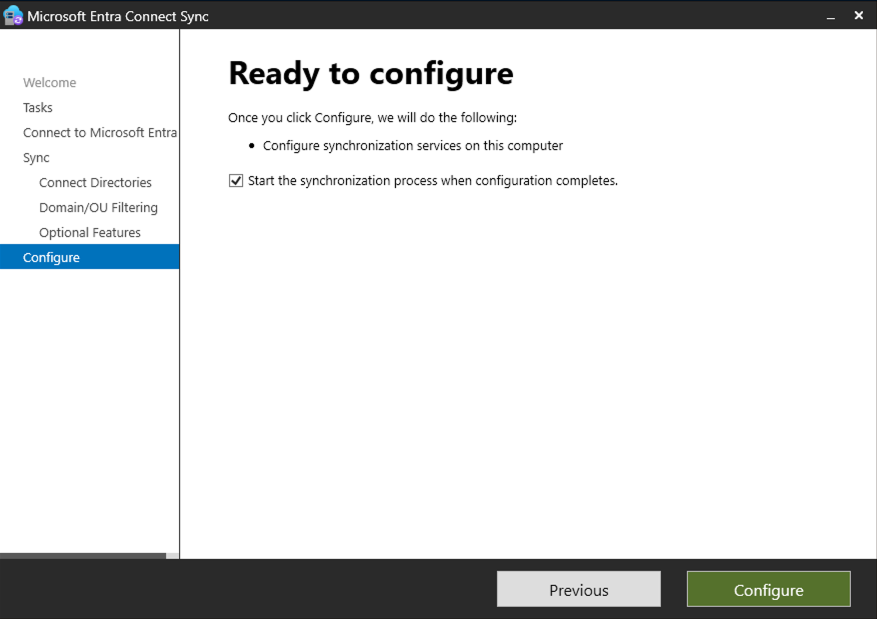
In the Configure step, select the Start the synchronization process when configuration completes checkbox and click Install.
-
When the installation completes, click Exit.
-
In the Entra admin center, go to the All users page and verify the expected users appear. It could take a few minutes for the users to sync.
-
Use ADSI Edit to connect to your AD domain and ensure each user object in the OU for cloud users is populated with the
mS-DS-ConsistencyGuidvalue after the initial sync.If any AD user object is missing the
mS-DS-ConsistencyGuidvalue:-
Re-run the Entra Connect Sync installation program.
-
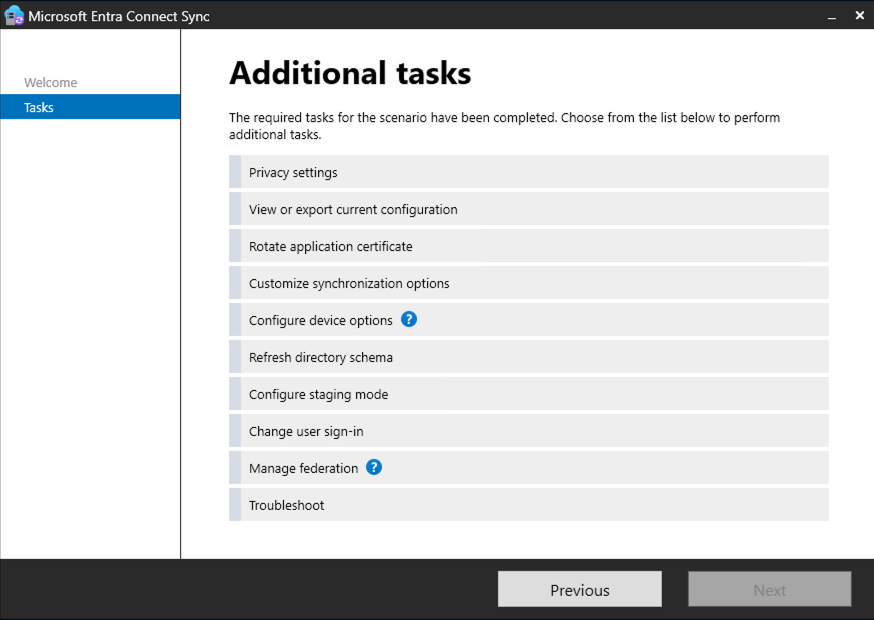
In the Tasks step, click Customize synchronization options and click through the steps without changing any settings.
-
In the Configure step, select the Start the synchronization process when configuration completes checkbox and click Configure.
-
Next steps
Complete the setup in Configuring PingOne as the federated IdP.