Securing your APIs using PingOne and Amazon Verified Permissions
Reduce the time your developers spend securing APIs using permissions based on role-based access control (RBAC) by using PingOne as your identity provider (IdP) and Amazon Verified Permissions (AVP) as your permissions manager.
PingOne is a cloud-based identity as a service (IDaaS) framework for secure identity access management that uses an organization-based model to define tenant accounts and their related entities within the PingOne platform.
AVP is a fine-grained authorization service that accelerates application development by decoupling authorization logic from business logic. It uses the Cedar policy language to write authorization policies and allows developers to build applications faster by externalizing authorization and centralizing policy management.
This use case walks through how configuring AVP to secure access to application APIs hosted on the Amazon API Gateway for identities managed in PingOne. AVP will automatically create the Cedar policies that determine which APIs a user is permitted to call based on their PingOne group membership. When the user authenticates with PingOne, their group membership is included in the OIDC token that PingOne generates. AVP then compares the user’s group memberships in the OIDC token to the Cedar policies and either allows or denies access to the API accordingly.
Goals
After completing this use case, you’ll know how to configure AVP to secure access to your API for identities managed in PingOne.
What you’ll do
In PingOne, you’ll:
-
Create an OpenID Connect (OIDC) web application.
-
Create two example users.
-
Create two example groups.
In Amazon Web Services (AWS), you’ll:
-
Create an example REST API and deploy the API to the Amazon API Gateway.
-
Configure AVP to secure access to your API for identities managed in PingOne.
Before you begin
In PingOne, each organization contains one or more tenants, known as environments, which define separate working domains within an organization.
To set up this use case, you’ll need:
-
A PingOne organization. Learn more in Starting a PingOne trial.
-
A PingOne environment that includes the PingOne SSO service.
-
An AWS account with access to the API Gateway and AVP services.
Tasks
Creating and configuring an OIDC application in PingOne
Create and configure an OIDC web application to manage using PingOne SSO.
-
In the PingOne admin console, go to Applications > Applications and click the icon.
-
In the Application Name field, enter a unique identifier for the application.
For example,
AVP app. -
(Optional) In the Description field, enter a brief description of the application.
For example,
Use this application to verify sign on using Amazon Verified Permissions. -
(Optional) Click Icon to upload an image to represent the application.
Use a file up to 1MB in JPG, JPEG, GIF, or PNG format. -
For Application Type, click OIDC Web App.
-
Click Save.
The details panel for the application opens.
-
On the Overview tab, copy the following values and save them to a secure location. You’ll need these values when you configure AVP:
-
In the General section, copy the values for Client ID and Client Secret.
-
In the Connection Details section, copy the Issuer ID.
-
-
On the Configuration tab, click the Pencil icon.
-
In the OIDC Settings section, in the Redirect URIs field, enter the address to which PingOne will forward the OIDC response after verification.
For example,
https://oauth.pstmn.io/v1/browser-callback. -
Click Save.
-
Click Add and add a new custom attribute as follows:
-
In the Attributes column, enter
group. -
In the PingOne Mappings column, select Group Names.
-
-
Click Save.
-
(Optional) On the Policies tab, click the Pencil icon, select the authentication policies for the application, and click Save.
-
(Optional) On the Access tab, click the Pencil icon, configure the access settings for your application, and click Save.
Learn more in Application access control.
If you selected Response Type = Code and Grant Type = Authorization Code, there’s also an Integrate tab that you can use to test your configuration. Learn more in Integrate PingOne with a Node.js Express app and Integrate Ping SDK for JavaScript with PingOne.
-
On the Applications page, browse or search for the application you just created and click the toggle to enable it.
The application can’t be used until it is enabled.
Creating example users and groups in PingOne
Create two example users and groups to use for testing the AVP policies. As configured, user Alice will have full permissions to the example API, whereas user Bob will have restricted permissions.
-
In the PingOne admin console, go to Directory > Users and click the icon.
-
For the first user, enter the following information:
-
In the Username field, enter
alice. -
In the Population list, select the population to which you want to add the user.
All users must belong to a population. If you don’t have a population configured in your environment, you must create one. Learn more in Managing populations.
-
In the Password field, enter a password for the user.
-
Click Save.
-
-
For the second user, enter the following information:
-
In the Username field, enter
bob. -
In the Population list, select the population to which you want to add the user.
-
In the Password field, enter a password for the user.
-
Click Save.
-
-
Go to Directory > Groups and click the icon.
-
For the first group, enter the following information:
-
In the Group Name field, enter
AVP_Admin. -
Click Save.
-
On the Groups page, locate the AVP_Admin group and click it to open the details panel.
-
On the Users tab, click Add Individually.
-
In the All Users list, select the checkbox next to alice and click Save.
-
-
For the second group, enter the following information:
-
In the Group Name field, enter
AVP_User. -
Click Save.
-
On the Groups page, locate the AVP_User group and click it to open the details panel.
-
On the Users tab, click Add Individually.
-
In the All Users list, select the checkbox next to bob and click Save.
-
Creating an example API in AWS
Now you’ll create an example API to secure with AVP.
-
Sign on to the AWS Management Console.
-
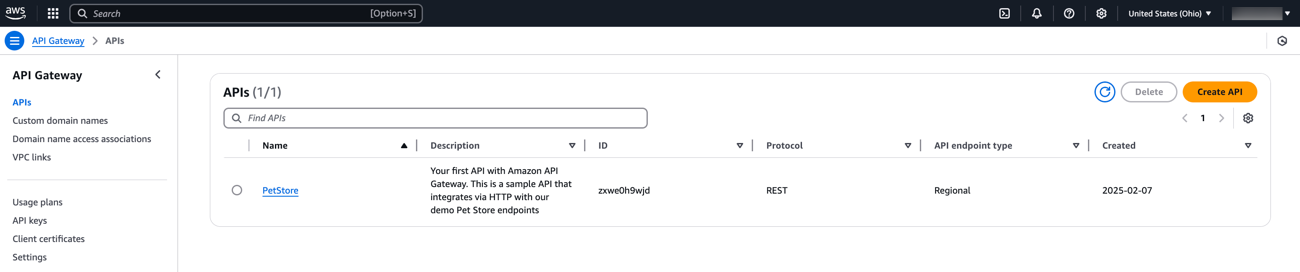
Go to API Gateway.
If API Gateway is not listed in your console, use the search bar to find it. Learn more about API Gateway in the Amazon API Gateway Developer Guide.
-
Click Create API.
-
Scroll to REST API and click Build.
-
Select Example API, and then click Create API.
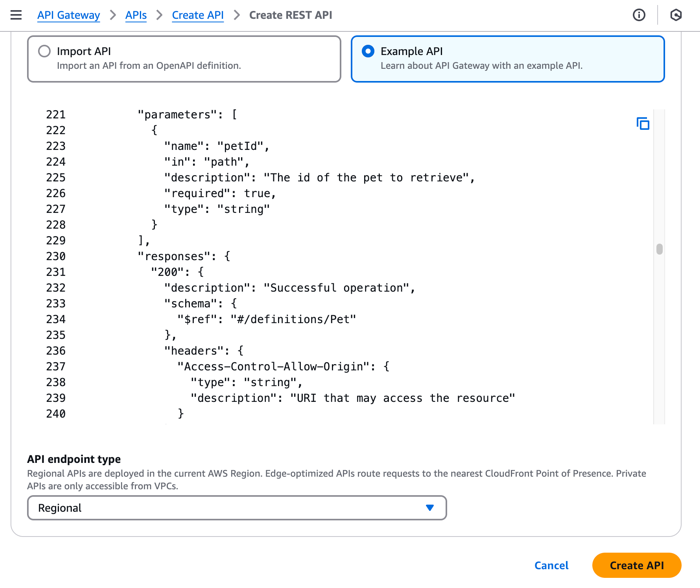
Result
A message displays that states the API creation was successful.
-
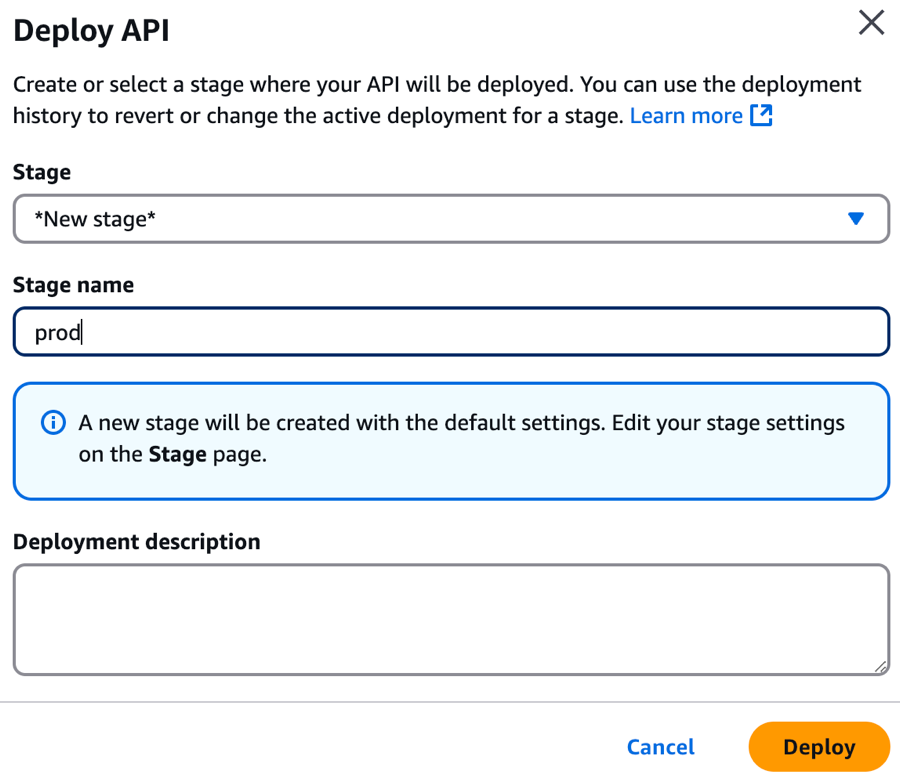
Click Deploy API.
-
On the Deploy API modal, from Stage, select *New Stage*.
-
In the Stage name field, enter
prod. -
Click Deploy.
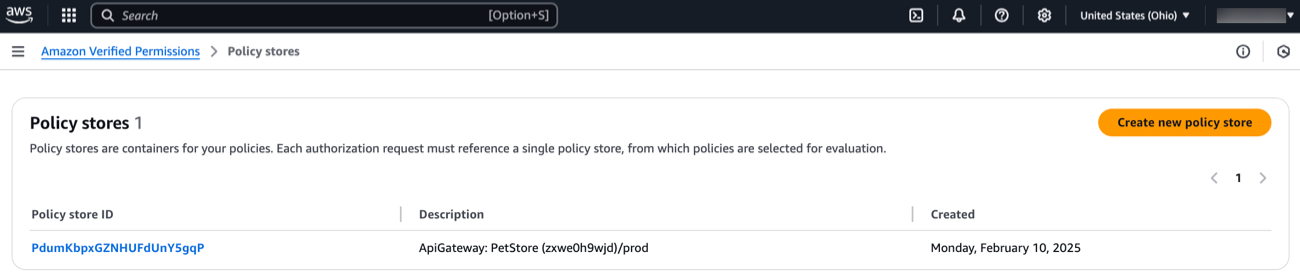
Creating an Amazon Verified Permissions policy store
Next you’ll create an AVP policy store and configure it to protect your API.
-
In the AWS Management Console, go to Amazon Verified Permissions > Policy stores.
If Amazon Verified Permissions isn’t listed in your console, use the search bar to find it. Learn more in the Amazon Verified Permissions User Guide.
-
Click Create new policy store.
-
In the Starting options section, select Set up with API Gateway and an identity provider.
-
Click Next.
-
On the Import resources and actions page, in the API Gateway details section, for API, select the API you created previously.
-
For Deployment stage, select prod.

-
Click Next.
-
On the Choose identity source page, in the Configure provider section, select External OIDC provider.
-
In OIDC provider details, enter the Issuer ID URL you copied from the Overview tab when you created your OIDC application in PingOne.
-
For Token type, select Identity token.
Access token will also work, but PingOne only includes the
groupclaim in identity tokens, not in access tokens. When making API calls, use the Identity token type to ensure the AVP policies are applied correctly. -
In User and group token claims, ensure that the values in User claim name in token and Group claim name in token match what you configured on the Attribute Mappings tab when you created your OIDC application in PingOne.
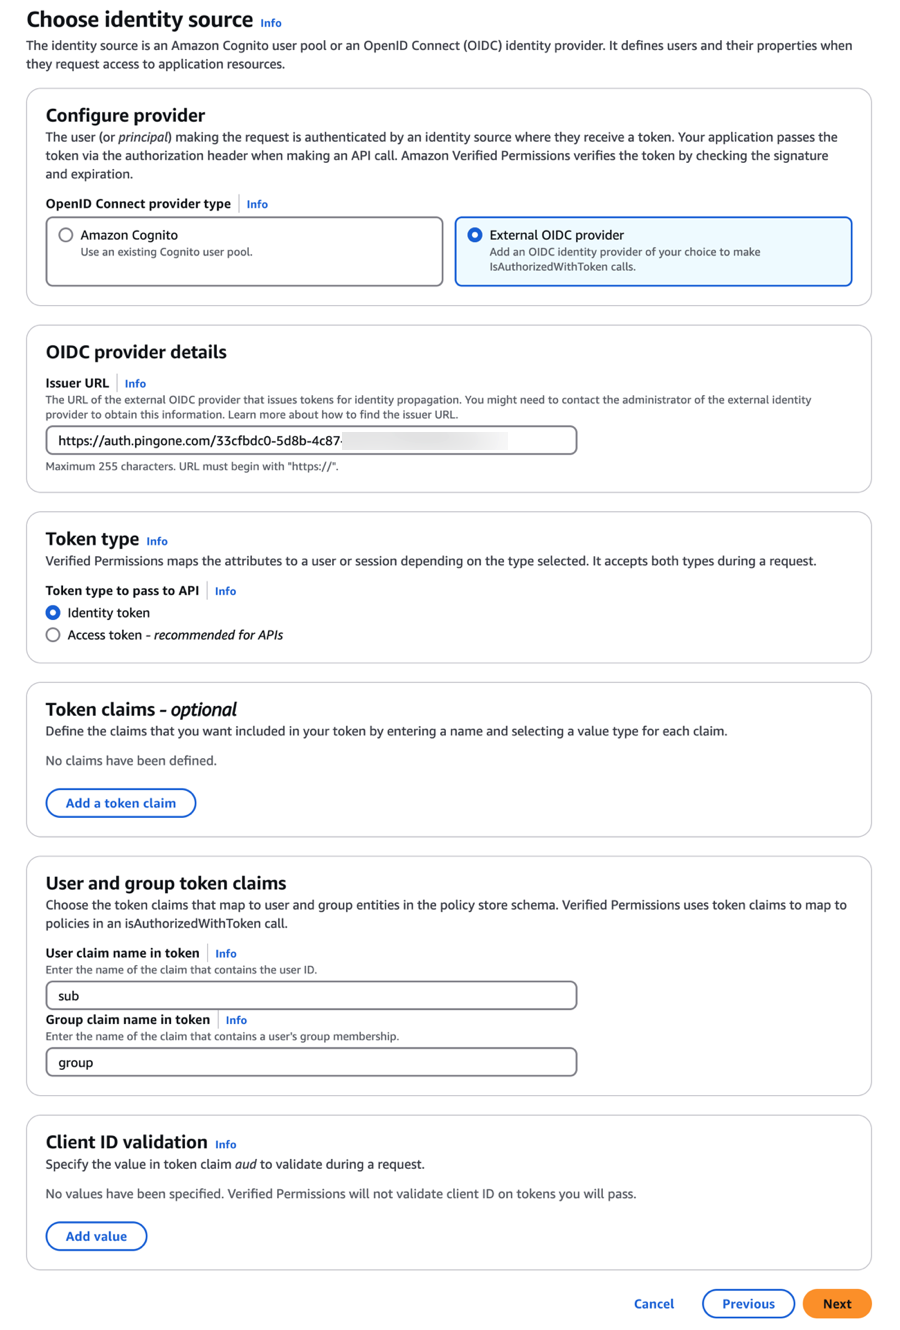
-
Click Next.
-
In Assign actions to groups, in the Group name field, enter
AVP_Admin. -
In Actions allowed, click Select All to give users in this group full permissions to the API.
-
Click + Add more groups.
-
In the Group Name field, enter
AVP_User. -
In Actions allowed, clear the checkbox next to post/pets to give users in this group restricted permissions to the API.
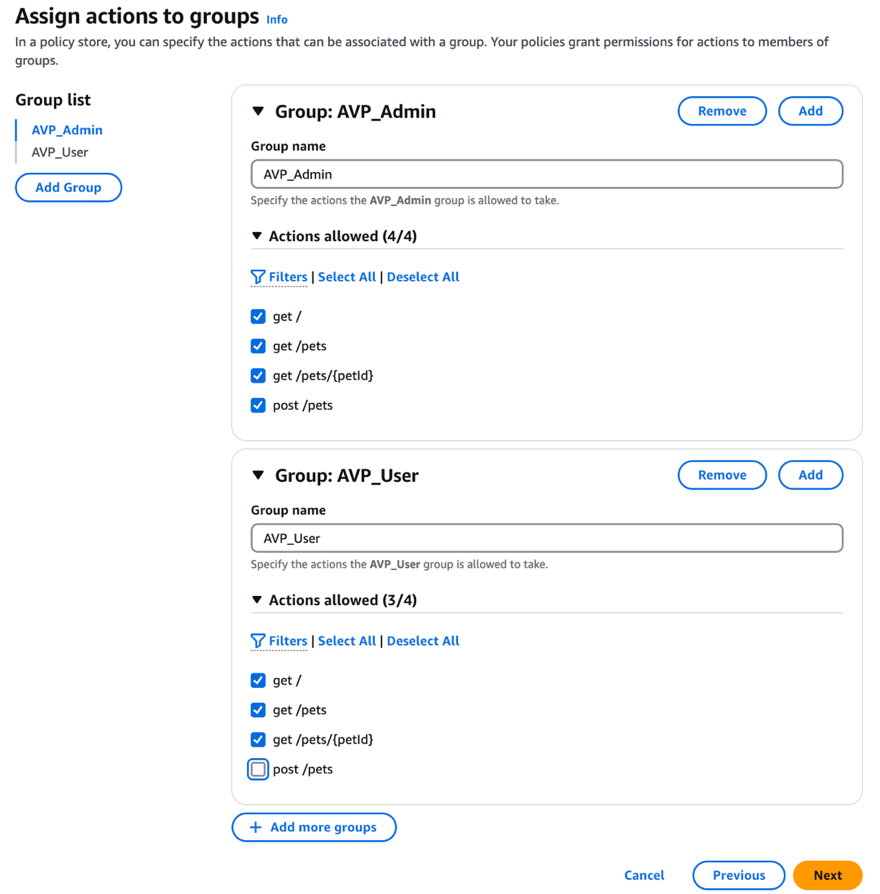
-
Click Next.
-
On Deploy app integration, for Start authorizing for API, select Now, automatically.
-
Click Create policy store.