Adding an Authorize gateway
Use an Authorize gateway to deploy authorization policy versions to gateway instances in your infrastructure and keep them up-to-date.
The Authorize gateway communicates between PingOne and gateway instances. The Authorize gateway consists of a PingOne cloud component and one or more gateway instances deployed in your organization’s infrastructure. The downloadable runtime is available after you’ve added an Authorize gateway.
You can use separate Authorize gateways to represent your development, testing, and production environments for deploying authorization policies.
Steps
-
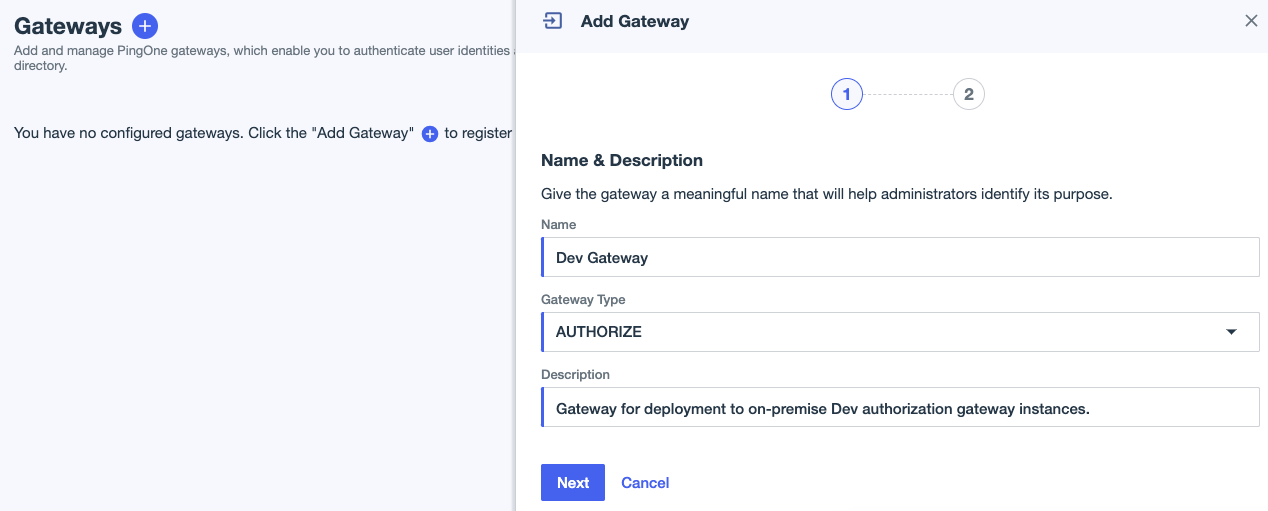
In the PingOne admin console, go to Integrations > Gateways and click the icon to add a gateway.
-
Enter the following:
-
Name: A name for the gateway. The name must be unique in this environment.
-
Gateway Type: Select Authorize.
-
Description (optional): A brief description of the gateway.
-
-
Click Next.
-
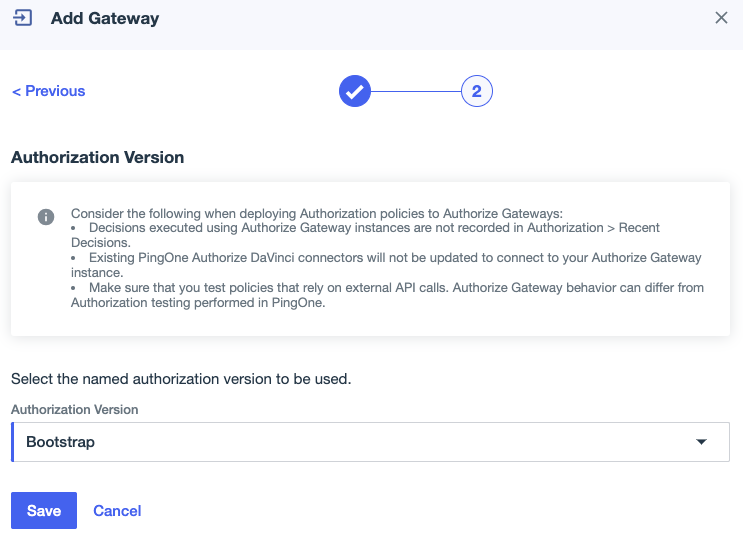
Select an Authorization Version.
This is the policy and Trust Framework configuration that will be published to gateway instances and used to make authorization decisions. Each gateway instance associated with this Authorize gateway will use this authorization policy version.
If you haven’t set up policies and the Trust Framework yet, select Bootstrap.
-
Click Save.
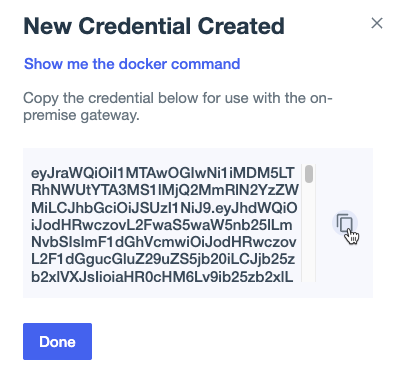
PingOne generates a gateway credential. The gateway instance in your organization’s infrastructure uses this credential to authenticate with PingOne.
A gateway credential is like a password, so keep it protected. For security reasons, PingOne does not store generated gateway credentials, but you can always create a new one in PingOne.
Multiple gateway instances can use the same gateway credential, and the credential doesn’t expire.
To revoke a credential, click the Delete icon.
-
Copy the credential and save it in a secure location for later use.
You’ll use the credential later to connect gateway instances to PingOne.
-
Click Show me the Docker command and copy the command to a secure location.
You’ll use the Docker command later to start a gateway instance.
-
Click Done.
Your new Authorize gateway displays an alert reminding you that no gateway instances are connected yet.

Result
Explore the settings available for your new gateway:
-
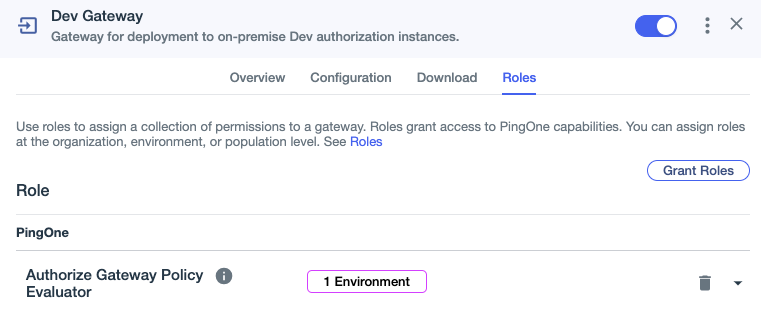
Header area: The toggle next to the gateway name allows you to enable or disable the gateway. Use the More Options (⋮) icon to edit gateway settings or delete the gateway.
-
Overview tab: Allows you to add or delete gateway credentials. After you start a gateway instance, this tab also shows you the status and version of your gateway instances.

-
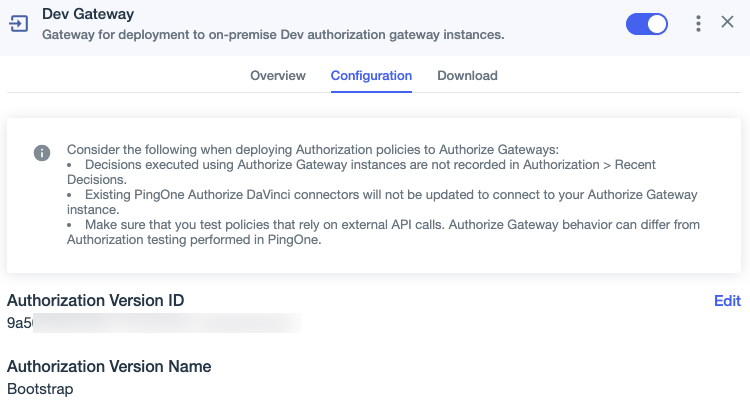
Configuration tab: Allows you to edit the policy and Trust Framework version deployed to gateway instances.
-
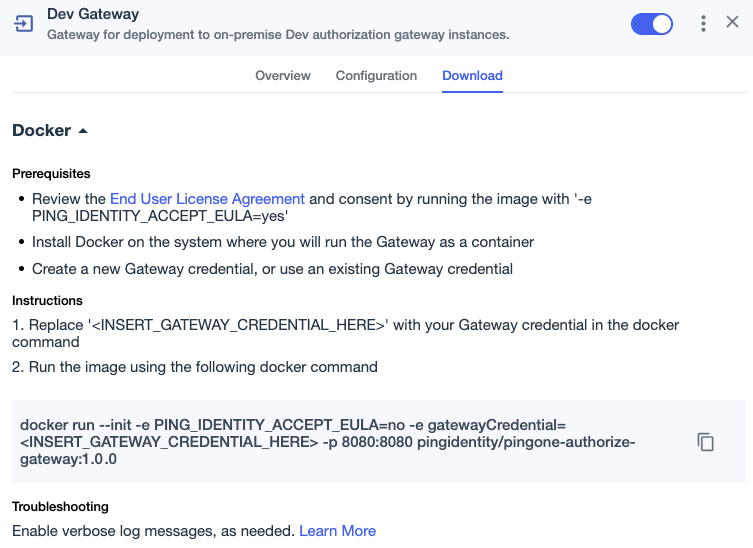
Download tab: Provides instructions and a command for running the gateway as a Docker container.
-
Roles tab: Allows you to assign collections of permissions to the Authorize gateway by granting roles. Learn more in Managing Authorize gateway roles.
