Set up Microsoft Entra ID as a federation IdP
To use Microsoft Entra ID (Entra ID) as a federation IdP for a PingOne Advanced Identity Cloud tenant environment, you need to create a new app registration.
| Microsoft Entra ID used to be known by the name Microsoft Azure AD. Learn more in New name for Azure Active Directory. |
Task 1: Configure Entra ID as a federation IdP
-
In a browser, navigate to the Microsoft Entra admin center.
-
Create a new application:
-
Click Applications, then click App registrations.
-
In the top toolbar, click New registration.
-
On the Register an application page:
-
Enter the application Name. For example, "Advanced Identity Cloud administrators".
-
Select Accounts in this organizational directory only (Me only - Single tenant) from the Supported account types list.
-
In the Redirect URI (optional) section:
-
In the left-hand field, select Web.
-
In the right-hand field, enter the redirect URI for an Advanced Identity Cloud environment using the following URL format:
https://<tenant-env-fqdn>/login/admin
For example, if your tenant environment FQDN is
openam-mycompany-ew2.id.forgerock.io, usehttps://openam-mycompany-ew2.id.forgerock.io/login/admin.
-
-
Click Register to create the application.
-
-
-
Find the application ID:
-
In the application menu, click Overview.
-
Note the Application (client) ID of the application. For example,
6b05a314-c721-4aa6-baad-7f533cbd25b0.In Advanced Identity Cloud, enter this value in an application’s Application ID field (or set in an ESV mapped to that field).
-
-
Find the application’s well-known endpoint:
-
In the top toolbar, click Endpoints.
-
Note the OpenID Connect metadata document endpoint of the application. For example,
https://login.microsoftonline.com/0e076864-135f-4914-9b72-80efaa4c3dcf/v2.0/.well-known/openid-configuration.In Advanced Identity Cloud, enter this value in an application’s Well-known Endpoint field (or set in an ESV mapped to that field).
-
-
Add the
emailclaim to the application’s token configuration:-
In the application menu, click Token configuration.
-
Click Add optional claim.
-
In the Add optional claim modal:
-
Select the ID token type.
-
Select the email claim checkbox.
-
Click Add.
-
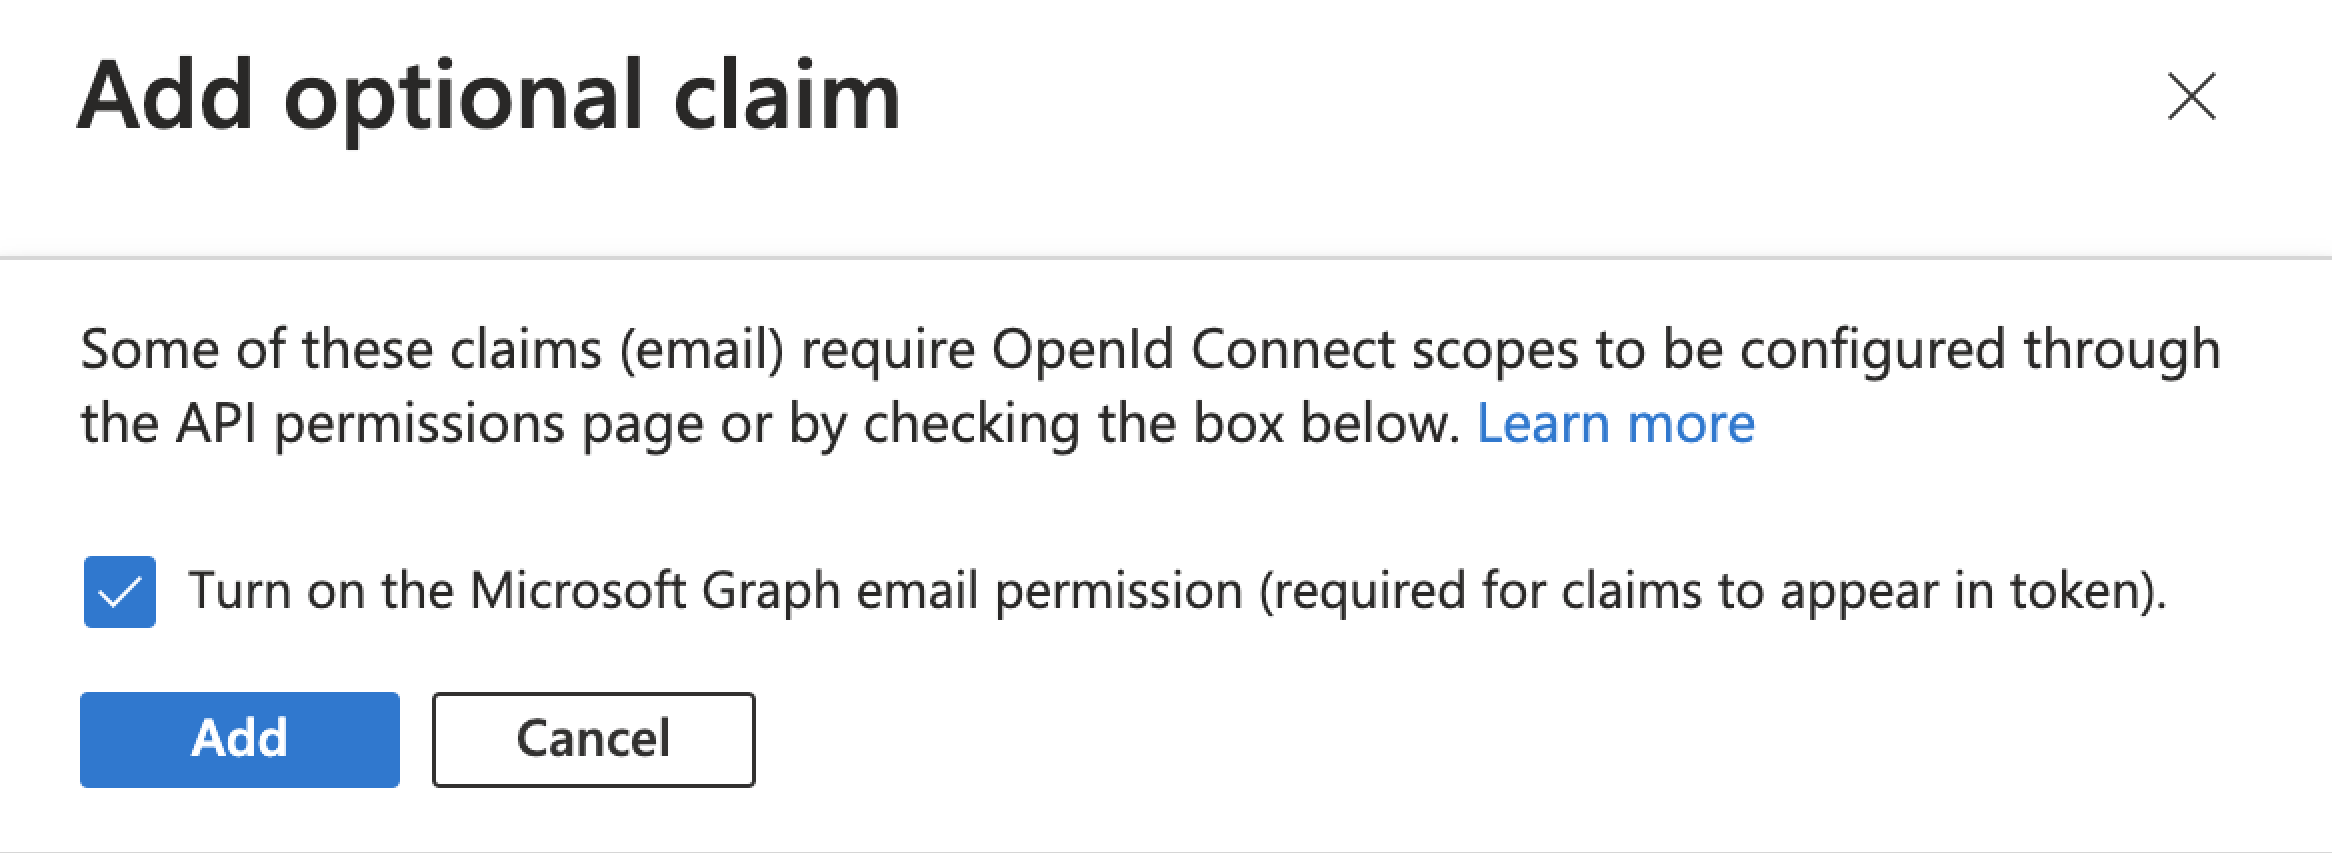
The first time you add the
emailclaim, the UI displays an Add optional claim dialog box to let you grant the appropriate API permissions:
-
Select the Turn on the Microsoft Graph profile permission checkbox.
-
Click Add.
-
-
-
-
Add an application secret:
-
In the application menu, click Certificates & secrets.
-
Click New client secret.
-
In the Add a client secret modal:
-
(Optional) Enter a Description.
-
Select an option from the Expires list (or accept the default selection of 180 days).
-
Click Add to create the secret.
-
-
Note the Value of the new secret. Do this immediately, as it can only be viewed for a short time after creation.
In Advanced Identity Cloud, enter this value in an application’s Application Secret field (or set in an ESV mapped to that field).
-
Task 2: Use group membership to enable federation in Entra ID
Groups let you add and remove sets of administrators based on their group membership in your IdP. You can also specify the level of administrator access (super administrator[1] or tenant administrator) for groups of users.
| If you modify group membership in Entra ID, it can take a few minutes for those changes to take effect in Advanced Identity Cloud. |
-
In a browser, navigate to the Microsoft Entra admin center.
-
Create one or more groups:
-
Create a group for super administrators[1]:
-
Click Groups, then click All groups.
-
In the top toolbar, click New group.
-
In the New Group page:
-
Select Microsoft 365 from the Group type list.
-
Enter the super administrator Group name. For example,
Super administrators. -
Click Create.
-
-
In the All groups page, in the top toolbar, click Refresh.
-
Click the new group you just created.
-
Note the Object ID of the group. For example,
8c578f67-cac4-49eb-8f28-8e4f2c22945e.In Advanced Identity Cloud, enter this value in an application’s Group Identifiers field (or set in an ESV mapped to that field).
-
-
(Optional) Repeat step 2a to create a group for tenant administrators.
In Advanced Identity Cloud, enter the group ID (or group IDs) in an application’s Group Identifiers field to the left of Tenant Admins(or set in an ESV mapped to that field). -
(Optional) Repeat step 2a to create a group for tenant auditors.
In Advanced Identity Cloud, enter the group ID (or group IDs) in an application’s Group Identifiers field to the left of Tenant Auditor(or set in an ESV mapped to that field).
-
-
Set up the application to acquire claims from the identity token instead of the user info endpoint:
-
Click Applications, then click App registrations.
-
Click All applications, then click your application.
-
In the application menu, click Token configuration.
-
Click Add optional claim.
-
In the Add optional claim modal:
-
Select the ID token type.
-
Select the email, family_name, and given_name claim checkboxes.
-
Click Add.
-
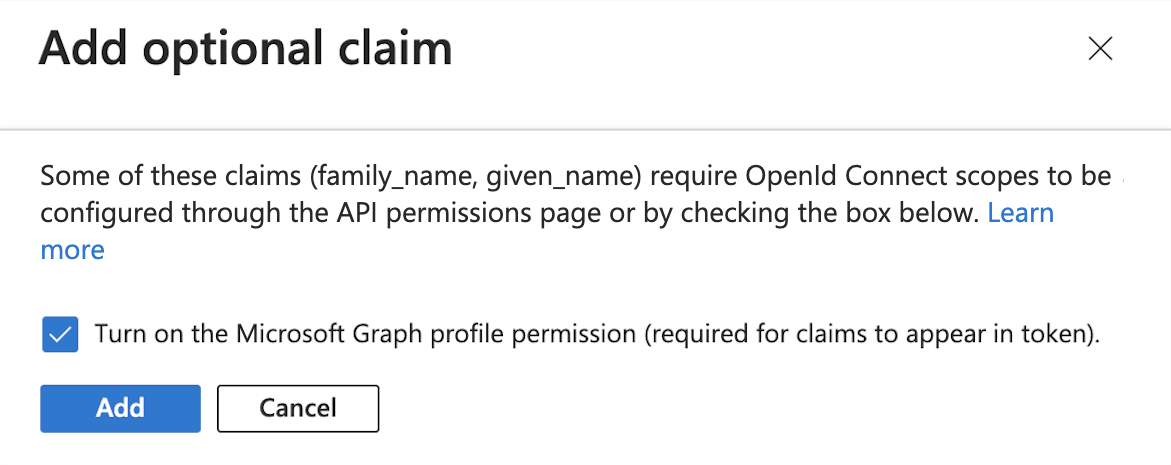
The first time you add these new claims, the UI displays an Add optional claim dialog box to let you grant the appropriate API permissions:

-
Select the Turn on the Microsoft Graph profile permission checkbox.
-
Click Add.
-
-
-
Click Add groups claim.
-
In the Edit groups claim modal:
-
Select Groups assigned to the application.
-
Click Add.
-
-
Confirm the name of the groups claim you added is
groups.In Advanced Identity Cloud, enter this value in an application’s Group Claim Name field (or set in an ESV mapped to that field).
-