Creating and configuring a passwordless Windows login application in PingOne
After creating the authentication policy, you can now create the application for passwordless Windows login.
Steps
-
In the PingOne admin console, open the environment you are using for Windows Login - Passwordless.
-
Click Applications > Applications.
-
Click the plus sign to add a new application.
-
Provide a name and description for the application, and for the application type, select Native. Click Save.
-
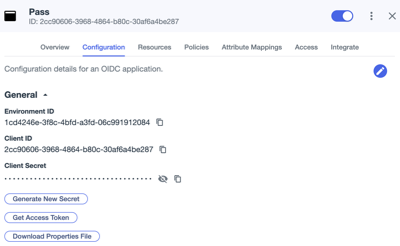
Click the Configuration tab, and then click the Edit button to continue with the creation of the application.
-
In the Redirect URIs field, add the redirect URL
winlogin.pingone.com://callbackauth, and then click Save and Continue. -
In the Advanced Settings area Certificate-based authentication section, move the toggle to Enabled.
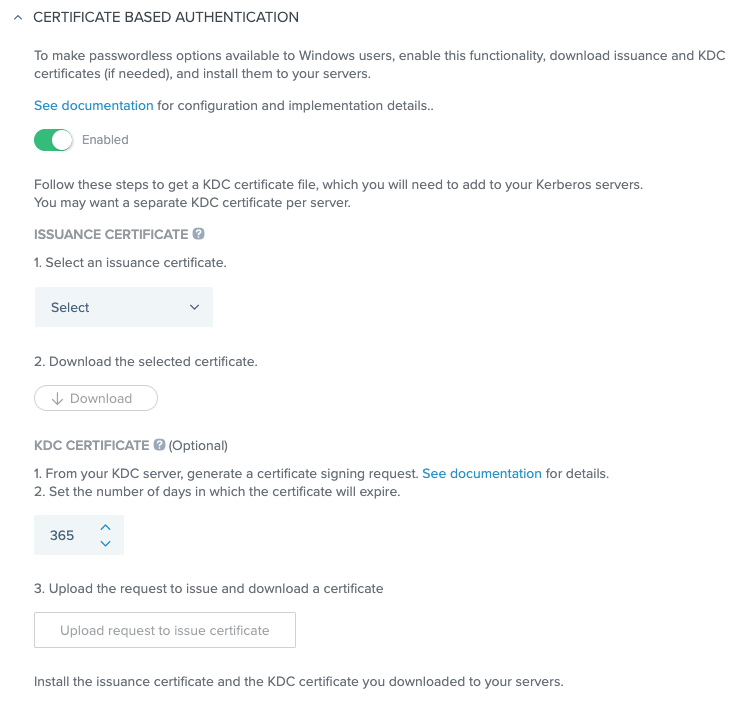
-
Select an existing issuance certificate and click Save.
-
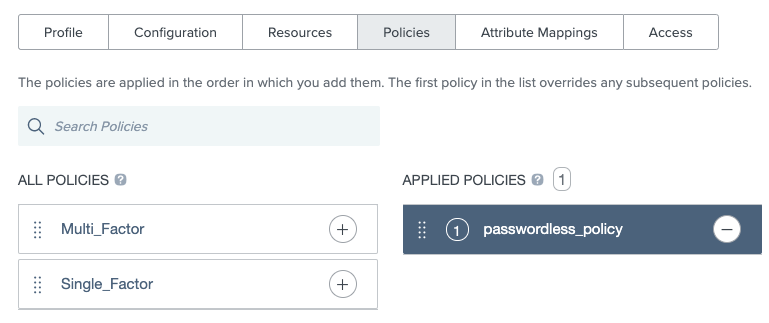
Go to the application’s Policies tab and click Edit.
-
Select the checkbox next to the authentication policy that you created earlier and then click Save.
-
(Optional) If you want to use the properties file as part of the CLI installation, go to the Configuration tab, and click Download Properties File.